
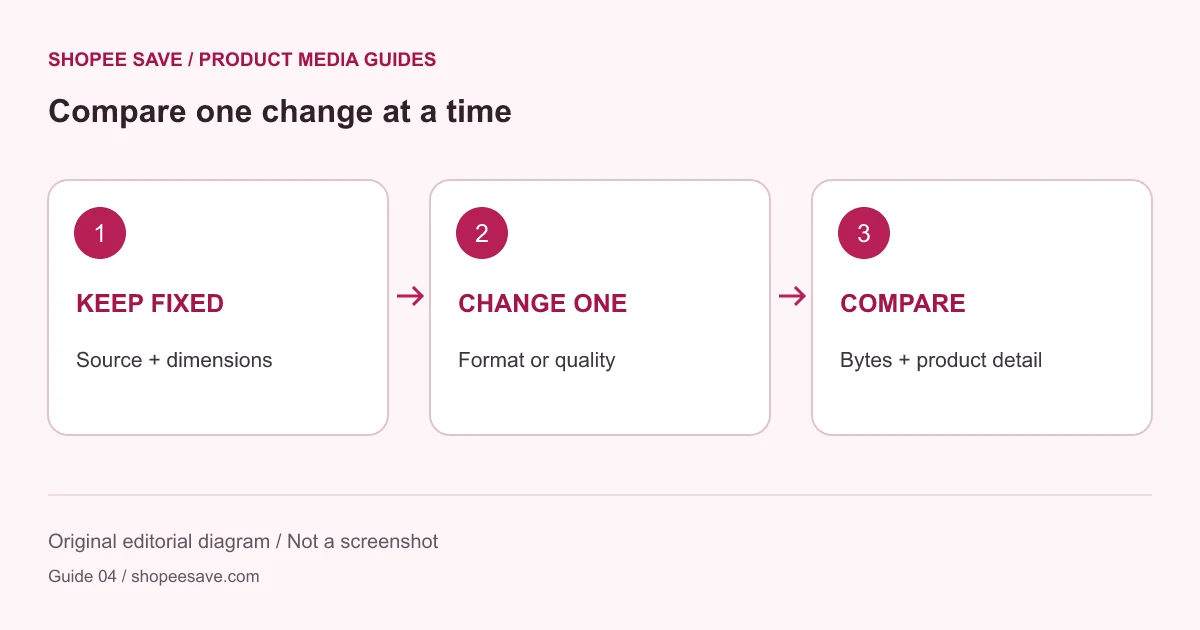
Run a controlled before-and-after comparison, measure the exported files and inspect the product details that matter.
A claim such as “save 80 percent on every image” tells you little about your own gallery. The starting file might already be compressed, the subject may contain fine texture, and the acceptable result depends on how the picture is used. A small controlled comparison gives you a more useful answer.
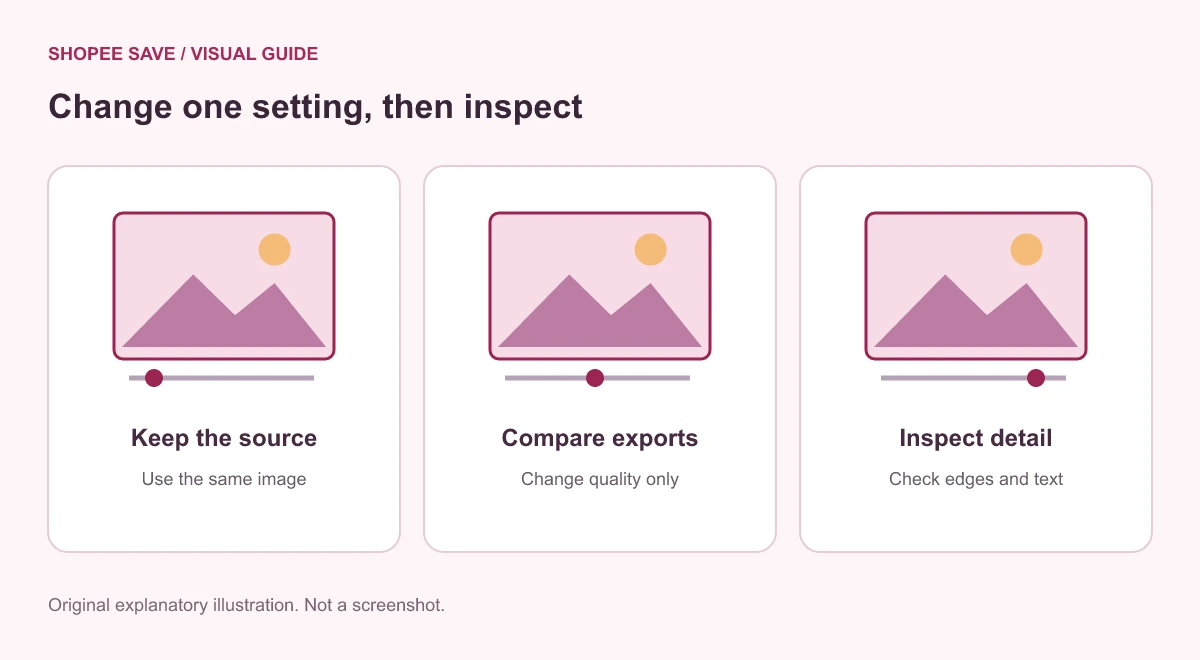
Use a photograph that contains the detail your shoppers need: a fabric weave, a small printed label, a tile texture or a reflective edge. Keep a copy of its original bytes and note its dimensions. A nearly empty background can make a compression result look impressive while revealing little about the rest of your catalog.
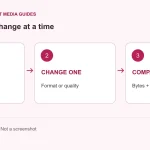
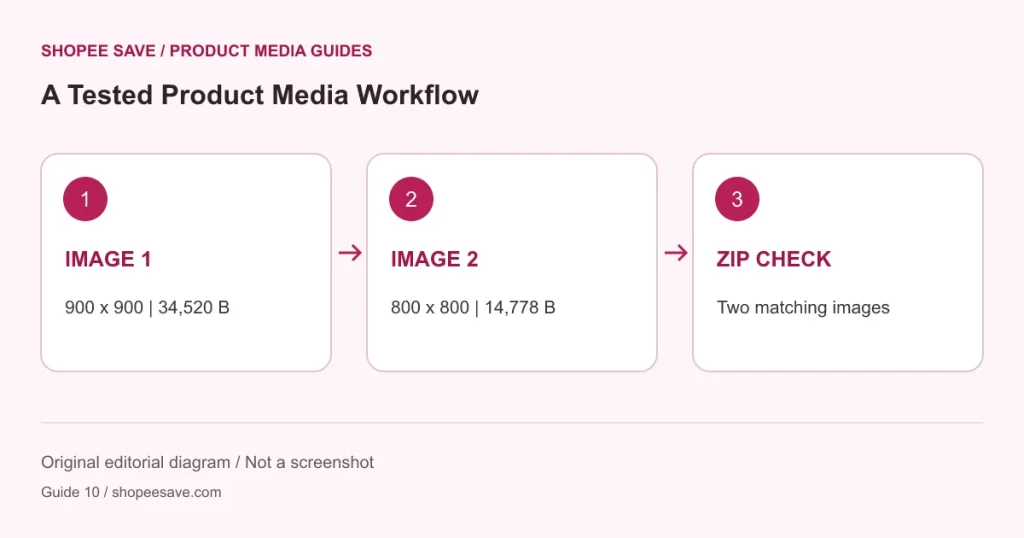
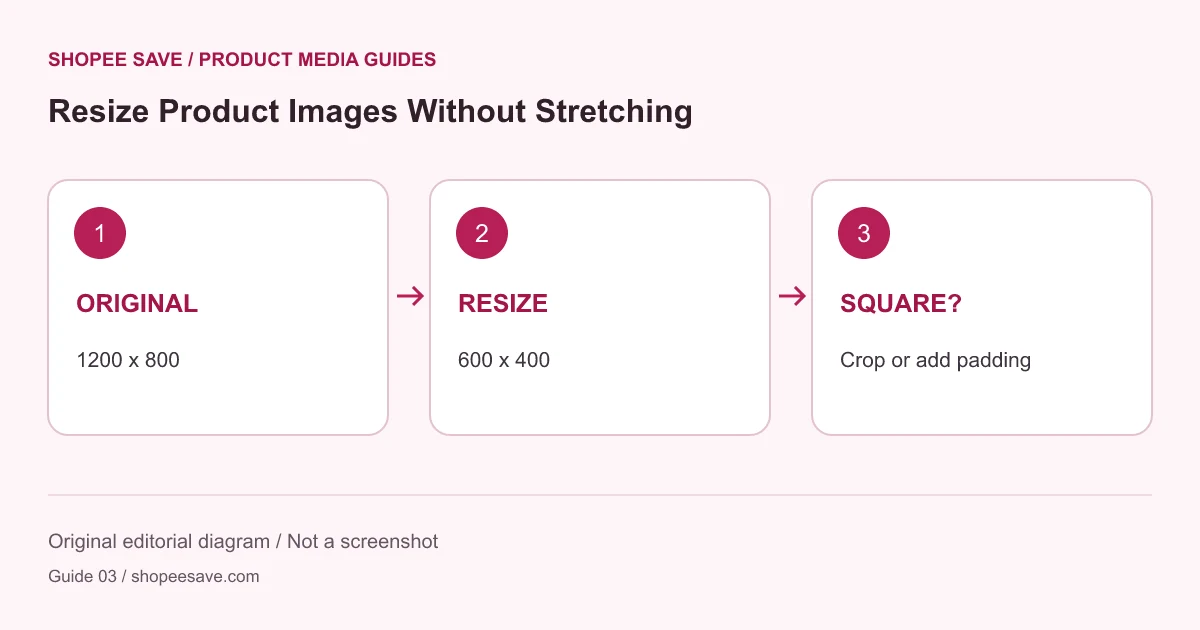
Open the sample in the product image editor. Choose an output width and leave that width unchanged for the first comparison. If you reduce dimensions and quality together, you will not know which change caused the difference you notice.
For JPEG or WebP, try one relatively conservative quality setting and one lower setting. These are exploratory choices, not universal recommendations. Download both files with distinguishable names. The quality control does not reduce PNG quality; use dimensions or compare a different format when working with PNG output.
Compare the downloaded file sizes using the same unit. A percentage reduction is (original bytes minus output bytes) divided by original bytes, multiplied by 100. For example, a hypothetical 200,000-byte source and 140,000-byte output represent a 30 percent reduction. Those numbers illustrate the calculation; they are not measurements of this browser tool.
Review the whole image at its intended display size, then inspect the important detail more closely. Watch for blocks around lettering, smudged texture and uneven edges. An export that looks acceptable as a thumbnail may fail when a shopper opens the larger gallery view.
If both outputs look acceptable, the smaller one may suit that use. If the lower setting damages a product feature, retain the better result even if it uses more bytes. Keep the original so a future larger layout can receive a fresh export. Repeatedly compressing an already compressed derivative makes the comparison harder to interpret.
Record the source filename, dimensions, output format, selected quality, actual downloaded byte count and a brief visual judgment. Include the browser used, because its encoder is part of the process. Repeat on another representative product before adopting the settings for a whole collection. No benchmark is claimed here for a browser or store that was not tested.
The format decision guide explains why a quality number cannot be compared directly across encoders. For the actual buttons and download step, use the illustrated editor tutorial. Compression is complete when the saved file retains the information your customer needs, not when a progress label reports the largest reduction.












shopee save: Thanks
Koiran Dhananjay babu01: 😘😘😘❤️😘❤️😘
Asariparth: 🔥🔥🔥
shopee save: I'm glad it was useful